Transcript
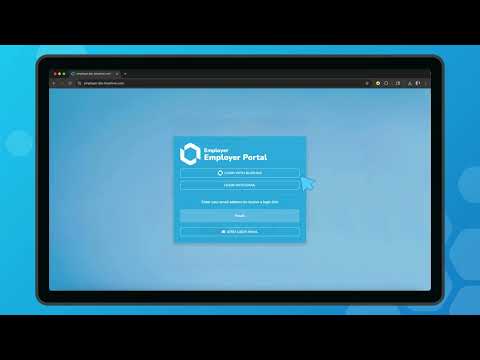
Generated automatically; may contain errors.Welcome to this quick walkthrough of the BlueHive order process. When an employer logs into BlueHive, they are presented with their employer dashboard. This is a sample dashboard we've created for this demo. The employer then creates a new order for services. In this example, we'll select Cordelia and then begin scheduling a DOT physical.
Once the necessary services have been selected, the employer can then select which provider they would like to complete the service. If the employer's organization has preferred providers, those options will appear first. If they require specific providers, then only those providers will appear. Once a provider is selected, the order can be completed. Now we'll switch over to BlueHive provider.
The first thing we notice is that we have an incoming referral. We can now choose to accept or reject the referral. Upon accepting it, the employer is notified. Once you click accept, you'll be taken to the order timeline. Here you can see more details about the patient and what services have been ordered.
By clicking on the services tab, we can get more details about the services needed and we can begin to complete them. When the service has been completed, click on the results button. On the next popup, you can select applicable options like whether the test was passed or failed, when the test was drawn or completed, as well as any notes you may have. Lastly, you can also upload any result documentation that needs to be sent to the employer for the patient. Back on the timeline screen, we can now see that the results have been completed.
Returning to BlueHive employer, we can now see that the order has been completed and our results pass through. Next, we'll take a look at the BlueHive Single Page application, or SPA. The SPA allows providers to complete one-off orders received via email or fax. Every order will include patient details, as well as an access code. To begin, visit BlueHive.
com/spa. Once there, enter the access code, patient last name, and date of birth, then click continue. On the next page, confirm the patient's details, then follow the steps to complete the referral. Step 1, mark whether the appointment is scheduled or a walk-in. In this instance, we'll select appointment, and then choose a date.
Once we click schedule appointment, we can move on to step 2. This step lists all of the ordered services, and you can toggle whether they've been completed or not. Once you've marked them as completed, you are then able to upload result documentation. Lastly, you can enter an email address for someone who is authorized to receive payment. This administrator will then be able to set up an account and receive payment for services rendered.


Provider Onboarding Series
Want to see BlueHive in action for your team?
Schedule a personalized demo and see how BlueHive simplifies occupational health management.