


Cybersecurity in Occupational Health
Occupational health sits at a high-value intersection: medical data, employee identifiers, employer workflows, and time-sensitive operations.
ComplianceSecurity


Appointment Confirmed
nowYour appointment request has been confirmed. Track updates in your dashboard.

Results Ready!
nowScreening results are in. Check employee compliance in your dashboard.
BlueHive coordinates occupational health orders, communication, results, and billing between employers and providers — so employees can be cleared for work with less time, uncertainty, and manual effort.
Appointment Confirmed
nowYour appointment request has been confirmed. Track updates in your dashboard.
Results Ready!
nowScreening results are in. Check employee compliance in your dashboard.


Join thousands of users who've transformed their occupational health management
Provider Locations
Nationwide network
Registered Employers
And growing daily
Same-Day Results
Industry-leading speed
BlueHive brings order routing, provider communication, result sharing, and billing into a single platform — so you always know what's pending, what's complete, and where the next action is needed.
BlueHive makes it simple to source the services you need - whether it's a hearing test, drug screen, pre-employment exam or fitness for duty exam for one employee, or recurring medical surveillance to ensure your employees remain in compliance.
BlueHive Provider Solutions connects your practice to a network of employers seeking high-quality occupational health services, all while maintaining your direct relationships with clients. With BlueHive's branded provider portals, your existing clients can securely access your services without browsing a general directory. Seamlessly manage bookings, streamline paperwork, and focus on patient care with tools designed to reduce administrative load and keep your business thriving.
Don't just take our word for it.
We've made it our mission to support HR professionals, no matter what industries they serve. From the government sector to non-profit, second-chance hiring initiatives, BlueHive is dedicated to ensuring that your team has the tools that they need to succeed.
See how much time and money BlueHive can save your organization
Fully-loaded cost of staff managing compliance
Your Estimated Annual Savings
That's 45% savings vs your current process
$3,750
on testing costs
1,750h
of admin time
Hidden Labor Savings
Your team spends approximately 1,750 hours per year on manual compliance tasks. At $35/hr, that's $61,250 in labor costs you could redirect to higher-value work.
* Estimates based on industry averages. Your actual savings may vary.
See how BlueHive transforms your occupational health workflow from start to finish
⚡ Complete the entire process in under 60 seconds
Most users complete their first order within 2 minutes of signing up.
See how BlueHive transforms every aspect of occupational health management
Without BlueHive
Call multiple clinics, compare availability
With BlueHive
One-click ordering from 20,000+ locations
Without BlueHive
Wait 3-7 days, chase with phone calls
With BlueHive
Real-time notifications as results come in
Without BlueHive
Spreadsheets, manual expiration tracking
With BlueHive
Automated alerts, always audit-ready
Without BlueHive
Manual updates, data entry errors
With BlueHive
HRIS sync, automatic roster management
Without BlueHive
Hours of manual report creation
With BlueHive
One-click reports, export to any format
Without BlueHive
2-3 days to schedule first screening
With BlueHive
Same-day appointments available
See the real impact BlueHive has made for employers and providers
Access 20,000+ locations across all 50 states
Find providers near you
Enter your ZIP code above to see available locations.
Access our nationwide network of certified occupational health clinics. From rural areas to major metros, your employees are never far from quality care.
Whether it's managing employee data, streamlining orders, or integrating with your existing systems, BlueHive's tools are designed to save time, improve accuracy, and drive results.
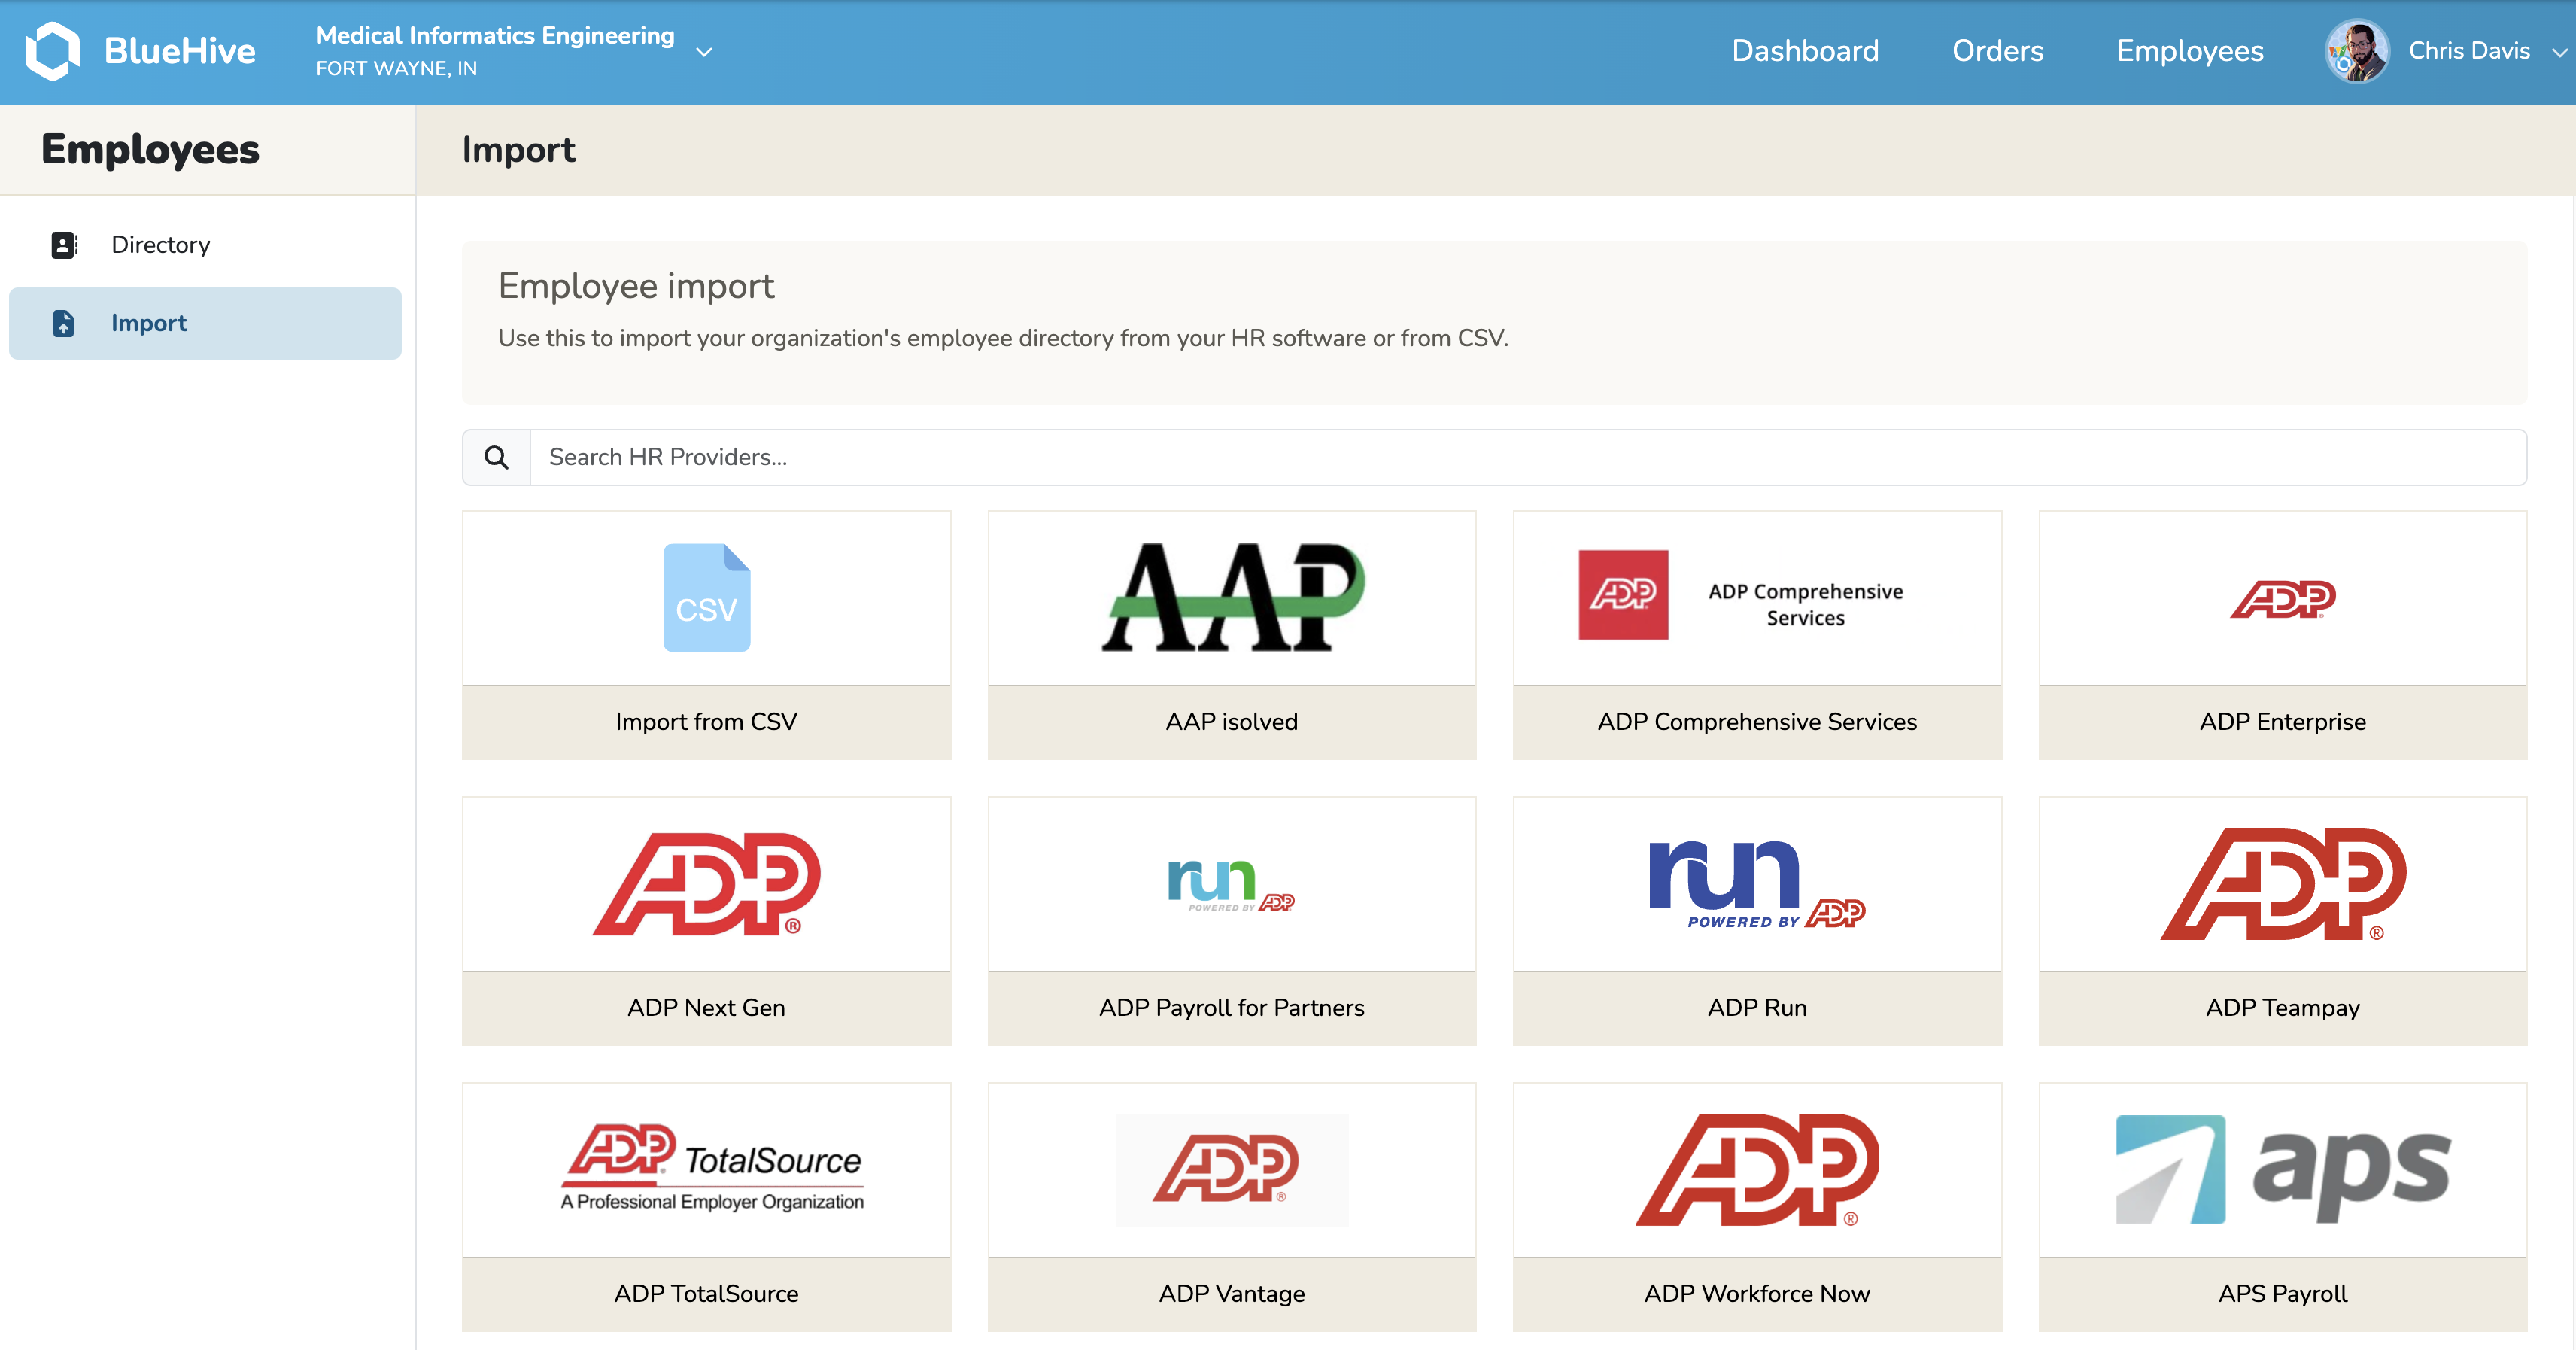
Import and manage your entire roster with ease, organizing by department or location to provide a clear and organized overview of your workforce.
Easily manage a range of services, set limits, and create recurring orders for vehicle inspections, driver physicals, fuel contracts, and more.
Connect with more than 20,000 occupational health professionals through our directory, allowing you to efficiently schedule appointments, and assess pricing.
Elevate security and ease of access using customizable SSO, delivering smooth, secure logins for handling orders, viewing results, and maintaining direct communication with service providers.
Benefit from a design that prioritizes user needs and preferences, offering an intuitive experience that enhances efficiency and reduces learning curves.
Integrate effortlessly with existing systems and tools, enhancing functionality without disrupting your current setup.
Stay ahead of the curve with the latest in occupational health management, compliance updates, and industry best practices.
Occupational health sits at a high-value intersection: medical data, employee identifiers, employer workflows, and time-sensitive operations.

Holiday staffing is hard because three things happen concurrently. Learn how to navigate the challenges with our comprehensive playbook.

Health systems, clinics, and long-term care organizations are facing a long-running workforce crunch.
Join 700+ employers who trust BlueHive for their workforce health compliance needs. Start your free trial today.