
Welcome to our exclusive tutorial series designed to elevate your clinic’s presence on BlueHive! This article will direct you step by step on how to claim your listing on bluehive.com. If you need help claiming/updating a listing or own a clinic that isn’t yet on BlueHive, send us a ticket through our support portal and we will help get you set up.
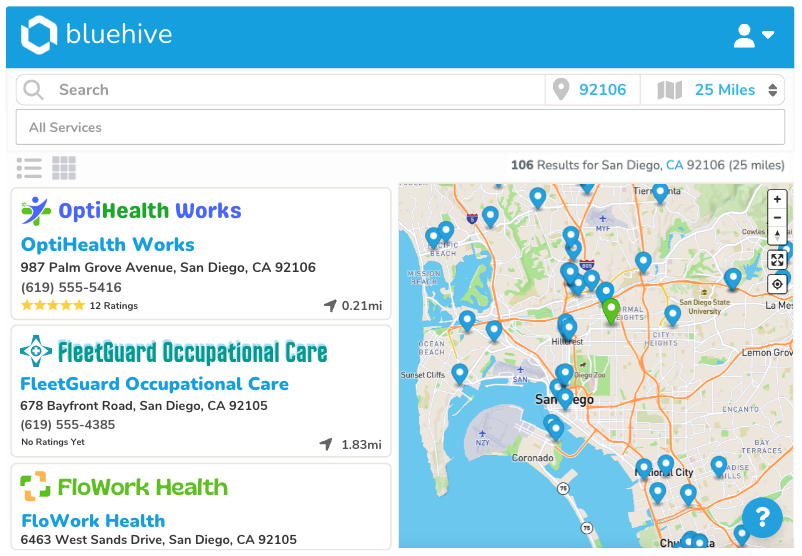
Step 1: Navigate to the Provider Directory
After setting up a basic profile by creating an account with either email, Google, Facebook (Meta), or Microsoft, begin by exploring our provider directory. Familiarize yourself with the platform and locate your clinic.
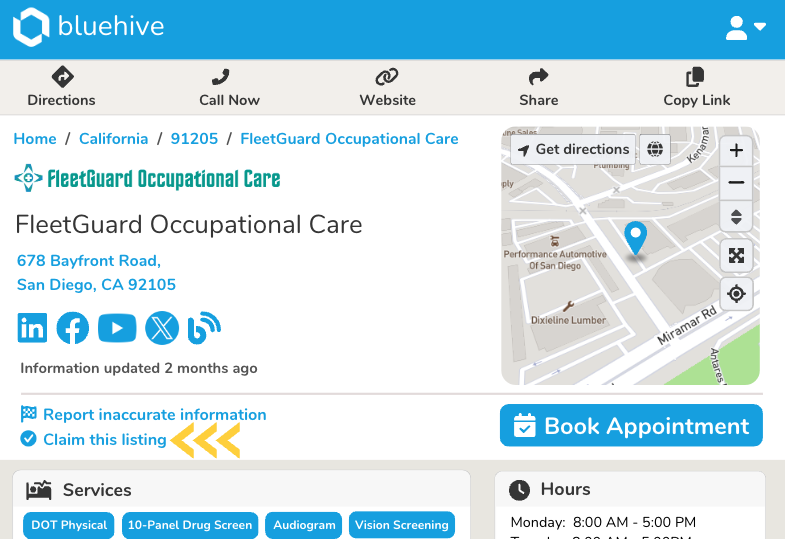
Step 2: “Claim this listing”
Upon finding your clinic in the directory, seize the opportunity by clicking the prominent “Claim this listing” button.
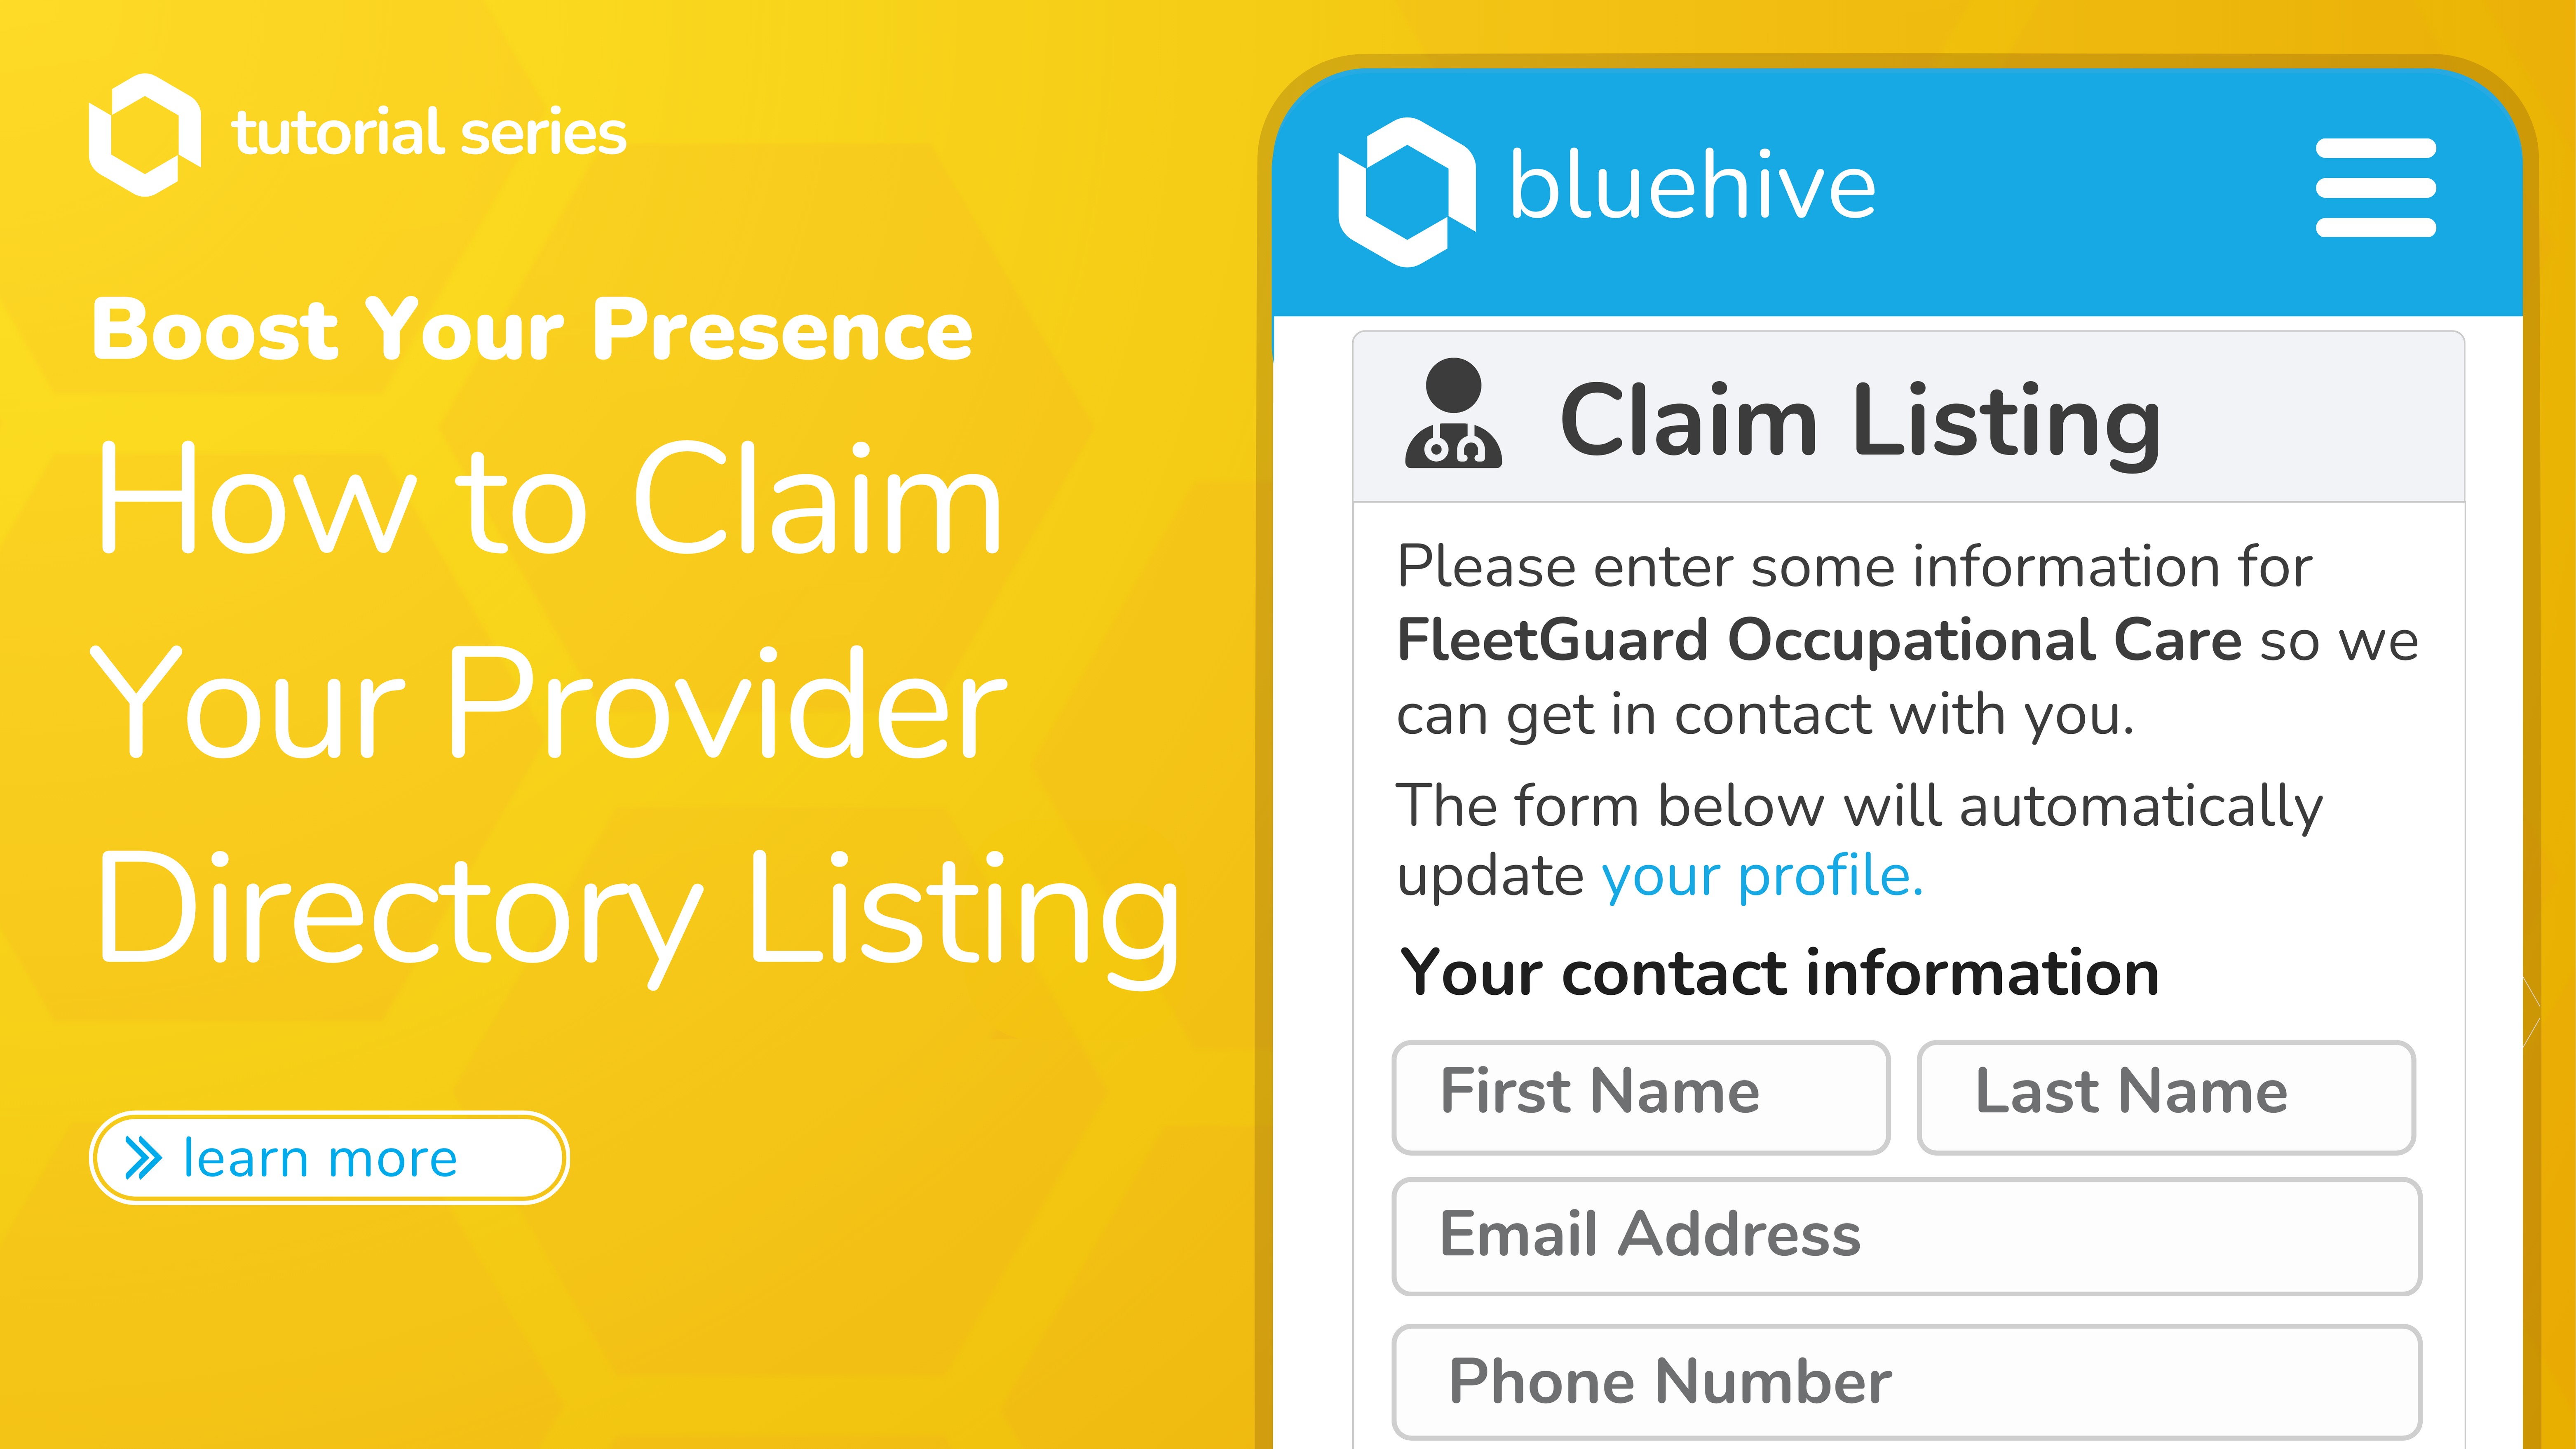
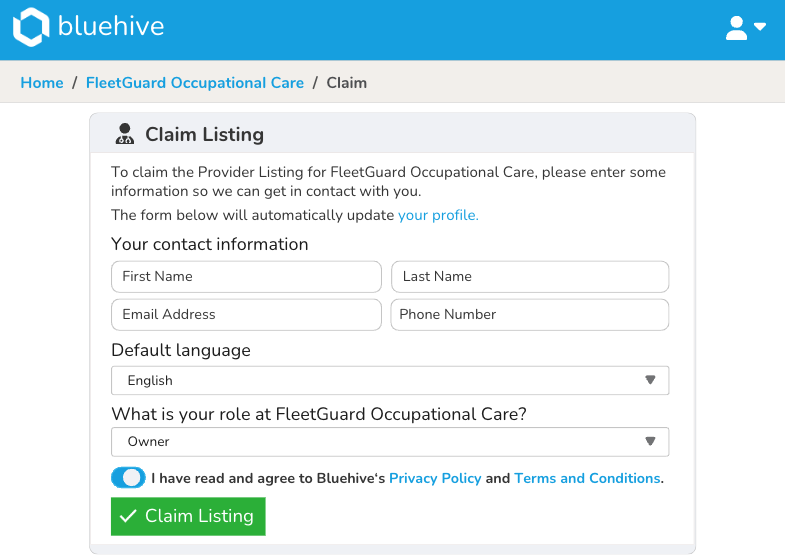
Step 3: Fill Out the Form
Dive into the next phase by filling out a simple form. Provide essential details such as your first and last name, email, phone number, job role, and default language. Ensure you’ve perused and acknowledged BlueHive’s terms and conditions as well as privacy policy. Finally, click the claim listing button to initiate the process.
Step 4: Await Approval and Access Your Portal
Congratulations on successfully submitting your Claim Listing form! Anticipate an email confirming that a provider representative will review your application within the next 2 business days. Once approved, another email will follow, granting you access to your personalized provider portal and the newly claimed listing.

Prepare to witness the transformation of your clinic’s digital presence. Claim your listing today and embark on a journey of enhanced visibility and connectivity with BlueHive!