

Hiring the right talent requires speed, accuracy, and compliance. That’s why BlueHive has partnered with Checkr – giving employers a fully integrated, automated background check solution within their existing workflow. No more navigating separate platforms – simply initiate, track, and manage screenings in one place while ensuring regulatory compliance and workforce safety.
How It Works: Step-by-Step Guide
Step 1: Connect Checkr to BlueHive
1. Log in to BlueHive for Employers at https://employer.bluehive.com/
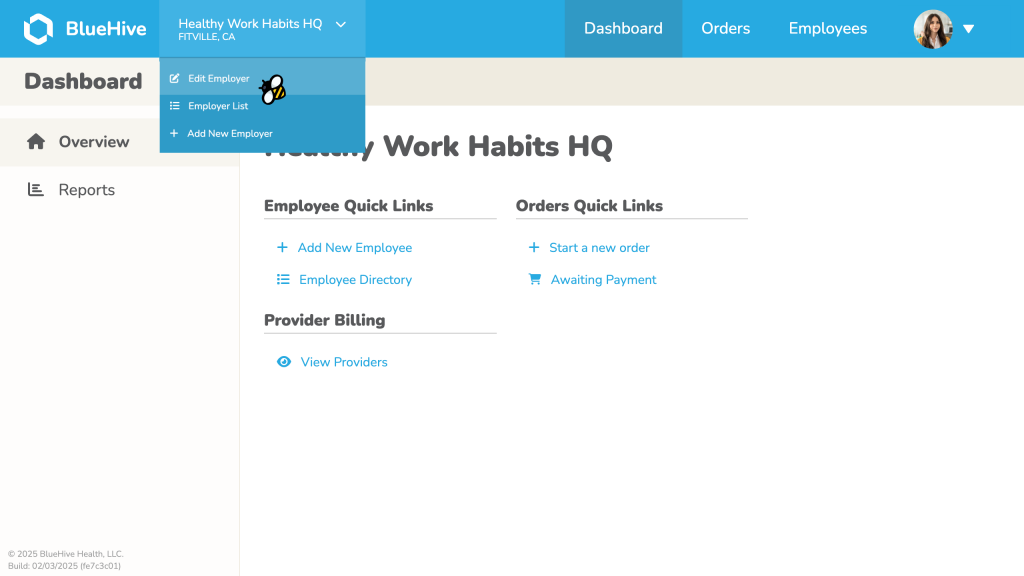
2. Navigate to Edit Employer from the top-left employer dropdown.
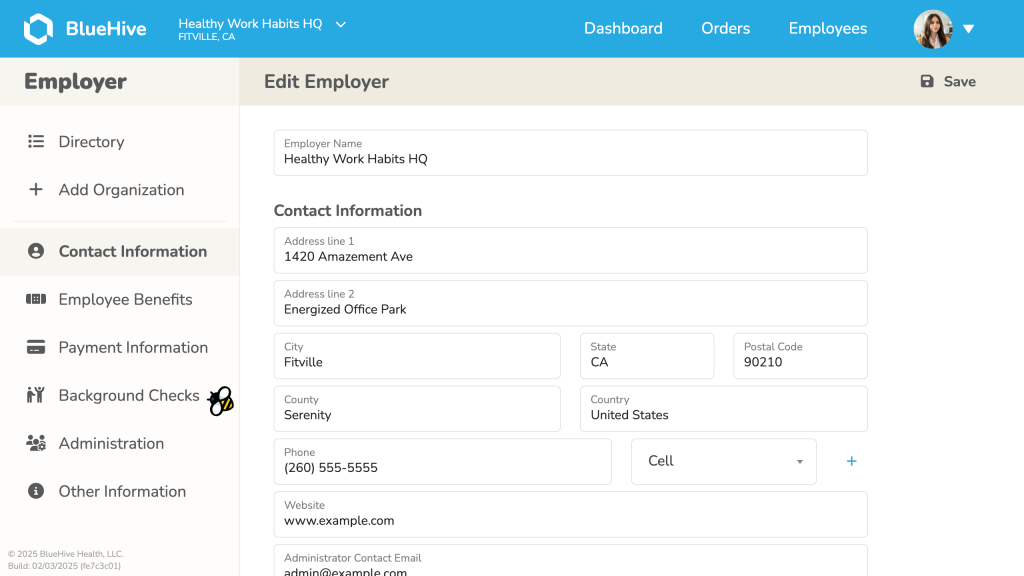
3. Select Background Checks in the left navigation menu.
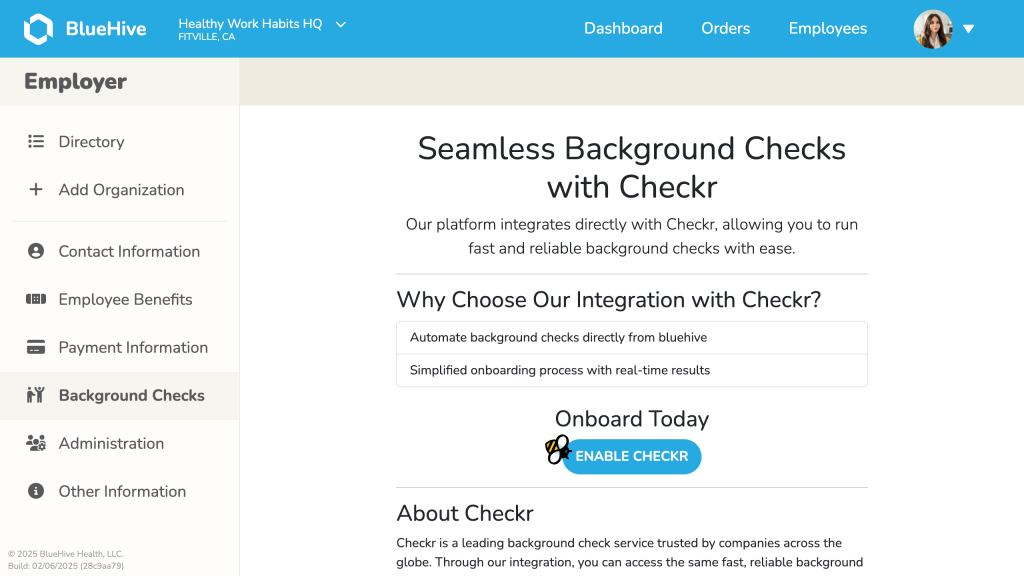
4. Click Enable Checkr and follow the sign-in/account setup process.
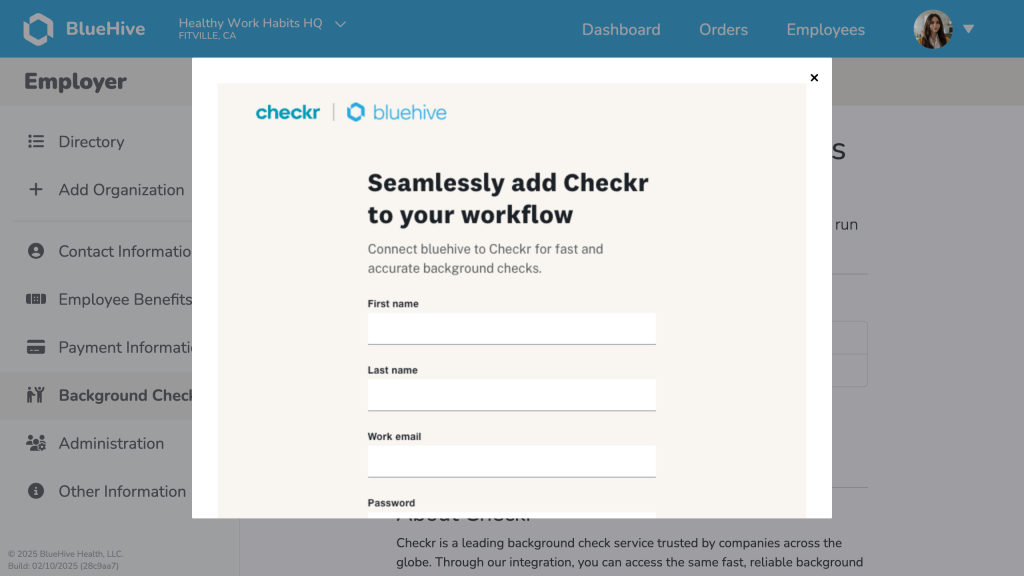
5. Once this workflow is complete, you will return the the Checkr page within BlueHive where the integration status will be displayed.
Please note that if you’ve signed up for a new Checkr account, it may take 24-48 hours for Checkr to credential the account.
Step 2: Ordering Background Checks
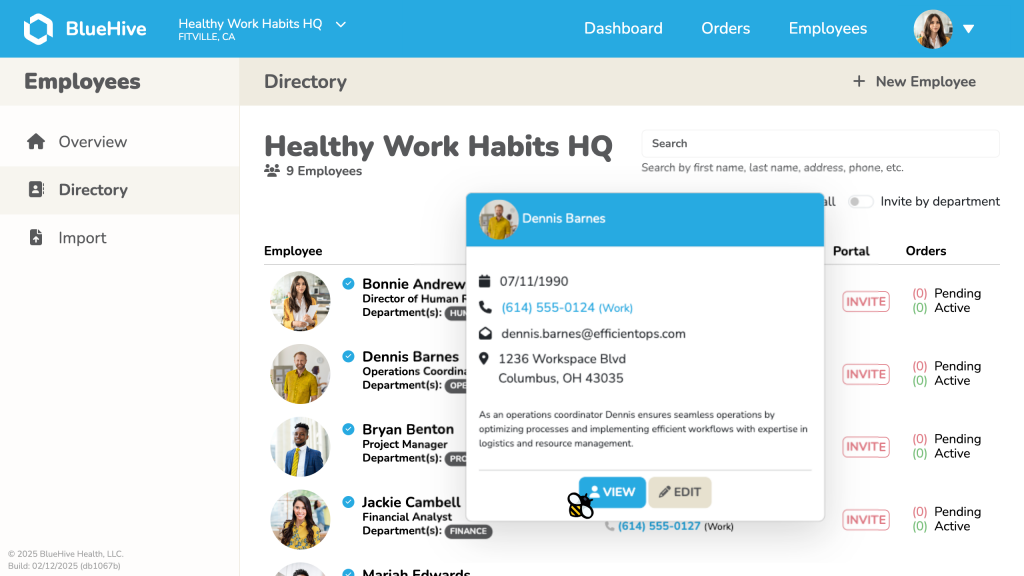
1. Go to the Employees Dashboard in BlueHive.

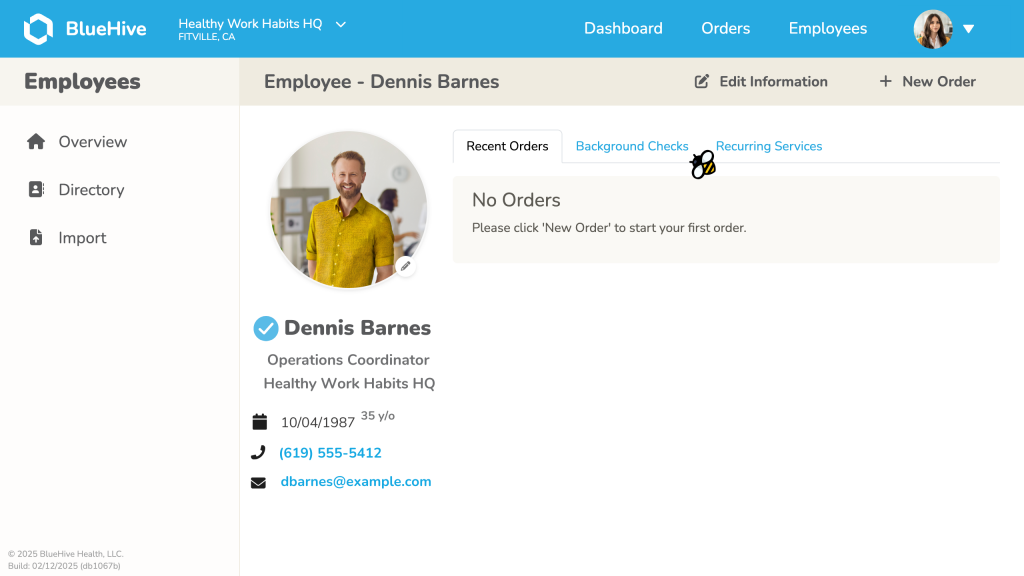
2. Select an existing employee or add a new one.
3. Click Invite for Background Check on the employee’s profile under the Background Checks tab.
4. Fill out the necessary fields on the Invite Candidate form, and click Submit.
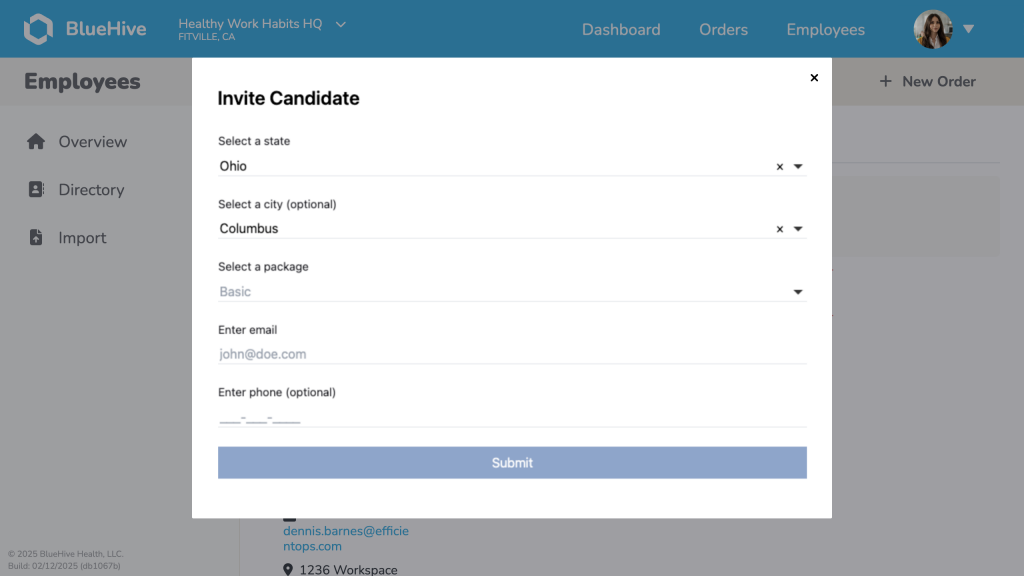
5. The candidate will receive an invitation to complete their screening.
Step 3: Tracking & Managing Results
- Monitor statuses in the BlueHive Background Checks tab.
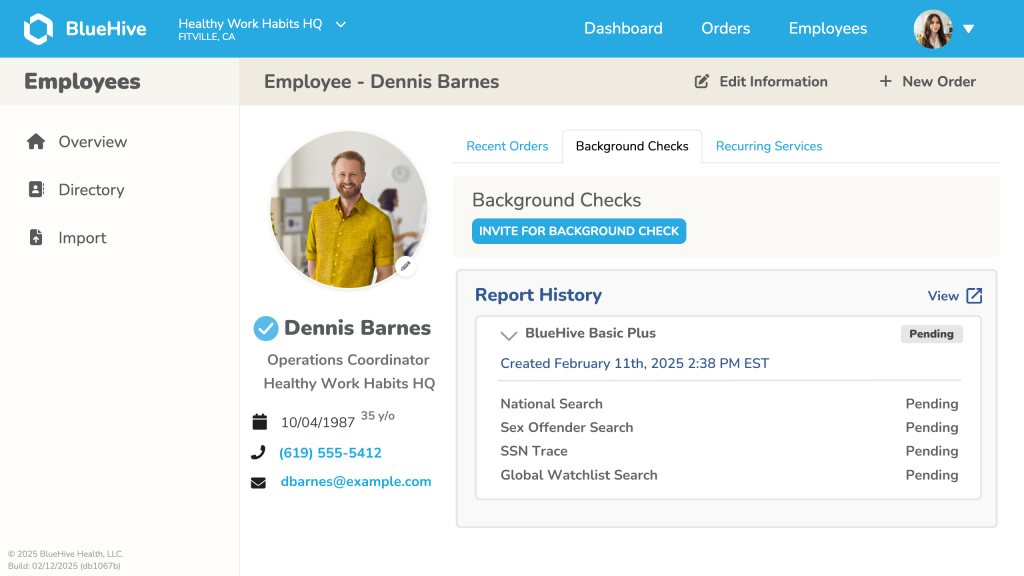
- View reports and take necessary hiring actions.
- Resubmit background checks if needed.